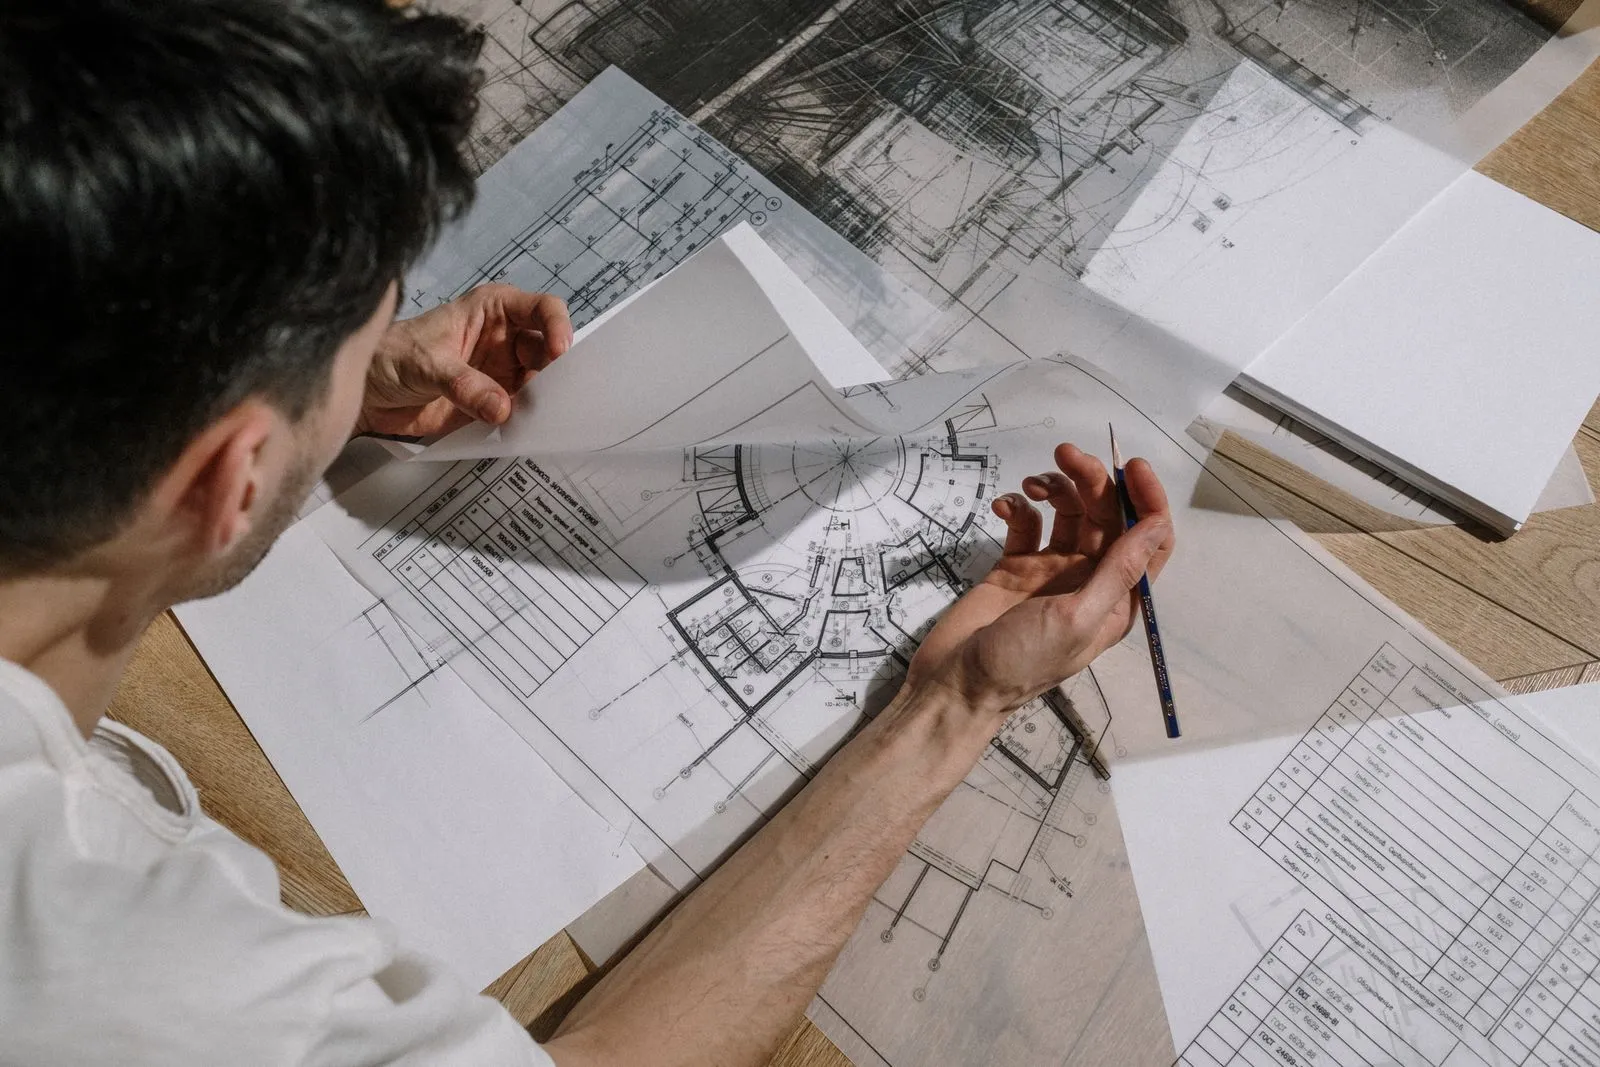
If your traced floor plan comes out a few inches off, the mistake is almost always the same: you placed the image by eye and started drawing walls on top of it. The fix is to import the plan, then use the Tape Measure tool to tell SketchUp how long one known dimension really is. Everything else on the plan follows.
This works the same way for a scanned sketch, a screenshot of a listing, or a page exported from a PDF.
Before you import: prepare the file
SketchUp’s help lists JPEG, PNG, TIFF, BMP, PSD, TGA and PDF as importable formats. A PDF is a vector format, so how it behaves depends on your version and the file itself. The most predictable route is to export the plan page as a PNG or JPEG first, and import that.
Two preparation habits save trouble later:
- Crop to the plan. Title blocks, borders and notes add file size and give you nothing to trace. SketchUp’s help also recommends cropping images to keep file size down.
- Mind the resolution. The help page states that the maximum importable image size is 1024 x 1024 pixels, and that larger images are downsized automatically. Resizing in an image editor first gives you control over the result. If the plan has fine dimension text you need to read, crop to just the room or area you are tracing.
Also find a dimension you trust before you start. A printed dimension string, a door width you measured on site, or the overall length of one wall all work. The longer the reference, the smaller the error when you scale.
Import the image
- Choose File > Import.
- Select your image file in the dialog.
- Choose Use As Image. This creates an image entity you can move and scale, which is what you want for tracing. (Use As Texture paints the picture onto a face instead, and the matched photo option is for Photo Matching.)
- Click Import.
- Click once to place the first corner of the image, move the cursor, and click again to place the opposite corner. That second click sets the starting size.
The size you set here is a guess. Do not trust it yet.
Group the image first
Right-click the image and choose Make Group. Grouping matters for the next step: when you resize with the Tape Measure inside a group, only that group scales. Without it, the Tape Measure can rescale your entire model, and any walls you had already drawn would shift with it.
This is the same habit covered in groups vs components: wrap things early so tools affect only what you intend. Give the group a clear name in the Entity Info panel, such as “Floor plan reference”, so you can find it again.
Scale it with the Tape Measure trick
SketchUp’s help describes scaling part of a model this way, and a grouped image is exactly that case.
- Double-click the group to open it. A dashed box appears around it.
- Press T to select the Tape Measure tool.
- Click one end of your known dimension on the plan, for example one end of a labeled wall.
- Click the other end. The distance SketchUp currently reads appears in the Measurements box at the lower right.
- Type the real dimension, for example
12'6"or3810mm, and press Enter. Type a unit if it differs from your model’s default. - When SketchUp asks whether you want to resize the model, click Yes.
Because the group is open, the resize applies to the contents of that group, which is the image. The reference line is only applied inside the open group, so close it with Esc or by clicking outside the group when you are done.
Why this works: the Tape Measure compares the length you typed with the length it measured, and scales the group by that ratio. The proportions of the plan stay intact.
Check your work with a second dimension
Scaling from one measurement assumes the original image has no distortion. Measure a different dimension on the plan with the Tape Measure (click twice, read the Measurements box, and press Esc without typing anything). If it matches the printed value, you are done. If it is off by a consistent percentage, the source file was likely scaled unevenly, or the scan is skewed.
Trace the plan
- Close the image group so it cannot be moved accidentally. Lock it from the right-click menu if you like.
- Look down on the model from above (Camera > Standard Views > Top) with Camera > Parallel Projection on, so perspective does not shift what you see.
- Draw wall outlines with the Line or Rectangle tool, snapping to the corners of the plan.
- Put your tracing geometry in its own group, and consider a dedicated tag for the reference image. See SketchUp tags so you can hide the image when you finish.
Learning a few keyboard shortcuts speeds this up, since you will switch between Line, Tape Measure and Orbit constantly.
Where it goes wrong
The Tape Measure rescaled everything. You measured on the image without opening its group, so SketchUp offered to resize the whole model. Click No when prompted, or undo, then group the image and try again.
The measured number barely changes, or the image is far too big or small. You typed a value without checking the unit. Re-measure and type the unit explicitly, such as ft, in or mm.
The image is blurry or pixelated. SketchUp downsizes large images automatically, as its help notes. Crop to the area you need and reimport rather than stretching a small file.
Practice drill
Take any floor plan image with a labeled dimension. Spend five minutes on this:
- Import it with Use As Image and make it a group.
- Open the group, use the Tape Measure on the labeled dimension, and type the real value.
- Measure a second labeled dimension to check it.
- Trace one room with the Line tool, then push-pull the walls up. If you would like a follow-on exercise, try adding steps with the stairs tutorial.
FAQ
Can SketchUp import a PDF directly?
SketchUp’s help lists PDF among importable formats, but PDF is a vector format, and results depend on the file and your SketchUp version. For tracing, exporting the page as PNG or JPEG and importing that is the more predictable route.
Should I use Scale or Tape Measure to resize an imported image?
Use the Tape Measure when you want to hit a real-world dimension, because you type the exact length. The Scale tool is better when you want a percentage change and do not know a target length.
Why does SketchUp ask whether to resize the model?
That prompt appears when you type a value after measuring with the Tape Measure. It is the confirmation that you want the typed length applied. If your image is not in a group, “the model” means everything, which is why grouping first is safer.
Is there a size limit for imported images?
The help states a maximum of 1024 x 1024 pixels for importable images, with larger ones downsized automatically. Crop and resize beforehand for the best clarity.