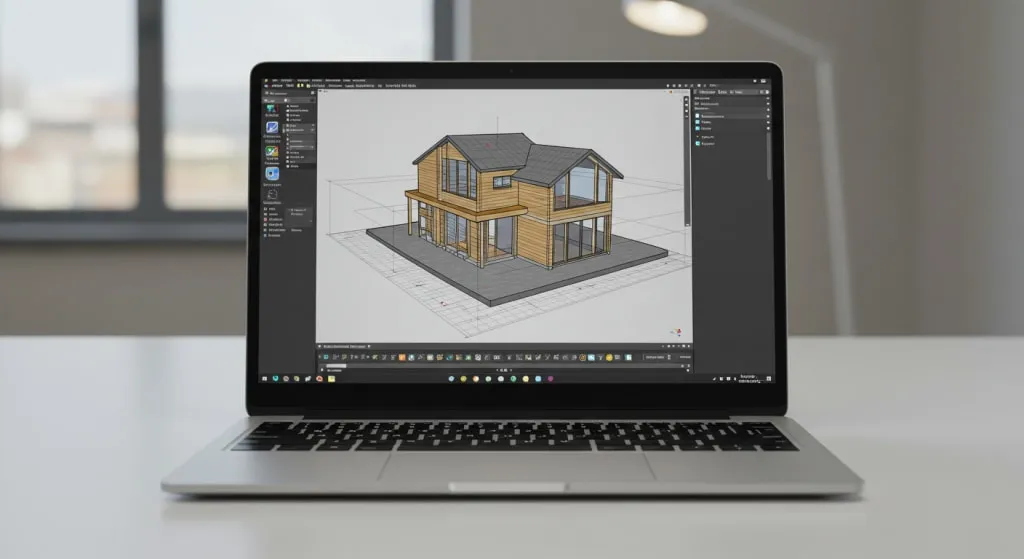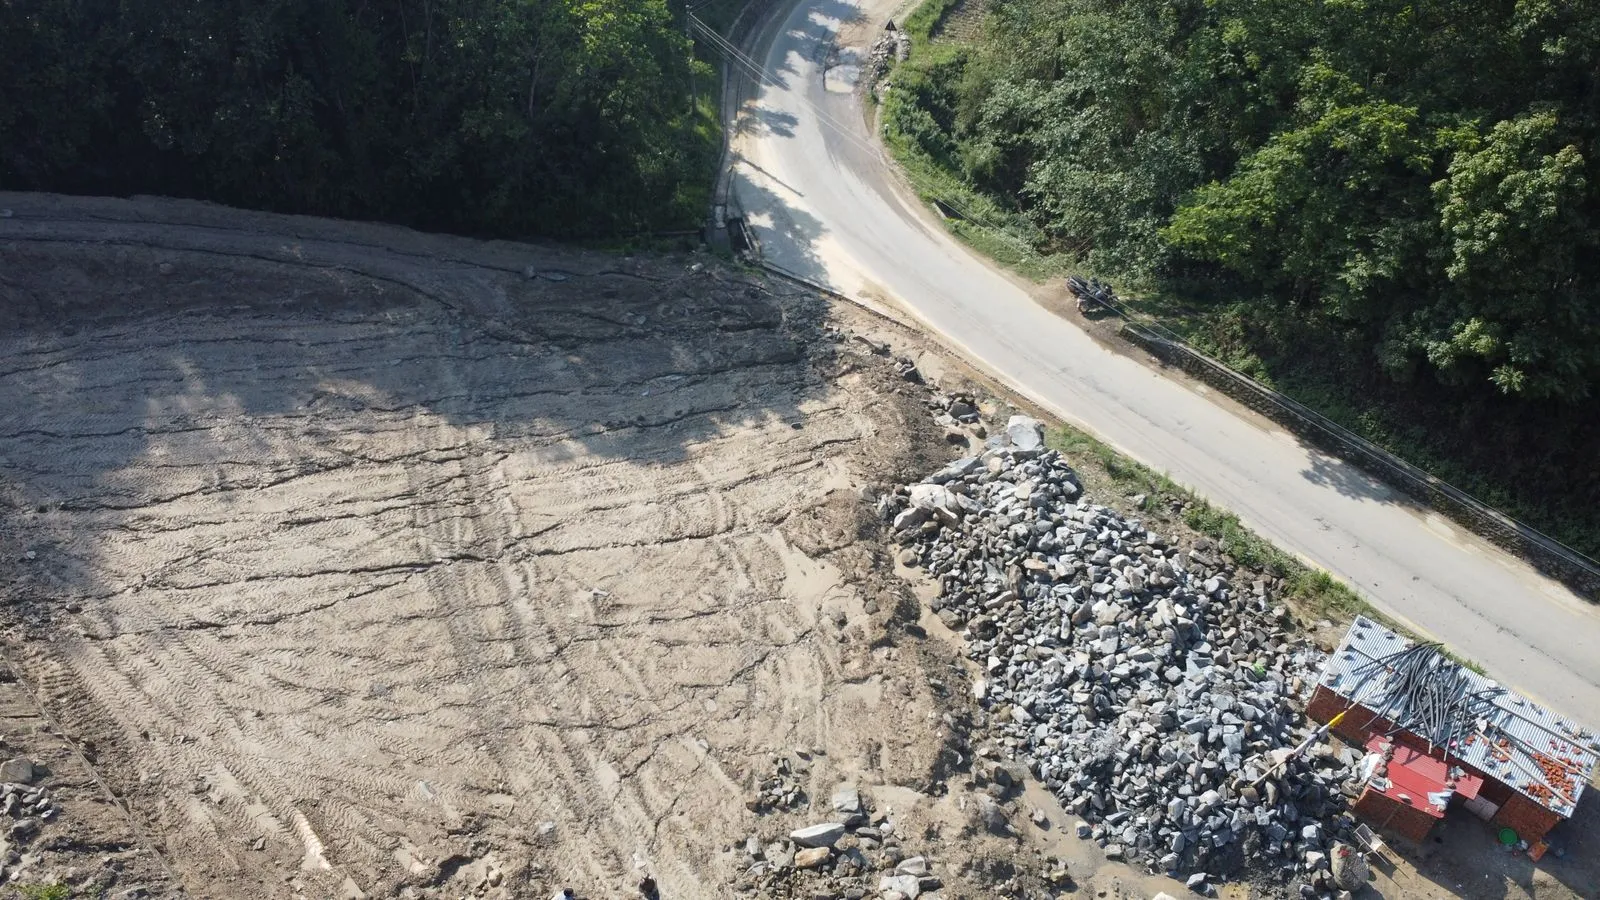
If your terrain looks like a pile of faceted triangles with a building floating or sinking in it, the usual cause is that the contour lines were never raised to their real elevations, or the building was never stamped into the ground. The Sandbox tools fix both, and they are built into SketchUp. This guide builds a terrain surface two ways, then stamps a flat pad for a building.
What the Sandbox tools make
Sandbox tools create a TIN (triangulated irregular network): a mesh of triangles that SketchUp wraps in a group. Because it is a group, you edit it like any other group. If groups are still fuzzy, read groups vs components in SketchUp first.
Find the tools
The SketchUp Help Center says the Sandbox tools are a toolbar you turn on under View > Toolbars, and that From Contours and From Scratch also live under Draw > Sandbox. If you looked under the Tools menu and found nothing, that is the reason; the SketchUp forum thread on this has the same answer.
The toolbar holds From Contours, From Scratch, Smoove, Stamp, Drape, Add Detail and Flip Edge. Turn it on now; you will use most of them.
Method 1: Terrain from contours
Use this when you have a survey, a CAD drawing or traced topo lines. SketchUp stores each line at a flat height, so the elevations have to be set by you.
- Draw or import your contour lines. The Help Center suggests including as many as you can, then reducing segments if the lines are too dense. Heavy lines make a heavy mesh, which matters later (see why a SketchUp model gets slow).
- Use the Move tool and the Measurements box to lift each contour to its height above the ground plane. Do this per line, because the surface is only as accurate as these heights.
- Select all the contour lines with Lasso Select. Selecting the lines only keeps stray geometry out of the TIN.
- Activate From Contours. SketchUp generates the TIN as a group.
Rename the group right away (for example, “Terrain TIN”) and put it on its own tag. Everything else on site will hang off this surface, and a clear name saves hunting later.
Method 2: Terrain from scratch
Use this for a concept study, a landscape idea, or a site where you have no survey.
- Activate From Scratch.
- Click to set the starting point of the TIN.
- Set the length and width by moving the mouse or typing values in the Measurements box.
- Select the finished TIN and type a new value in the Measurements box to change the grid spacing.
You get a flat rectangle. A tighter grid gives you smoother hills but more geometry; choose the coarsest spacing that still reads well.
Shape the surface
Sculpt with Smoove
- Select the area of the TIN you want to change.
- Activate Smoove. The vertices in your selection highlight.
- Optionally type a value in the Measurements box to set the radius.
- Move the mouse up or down to change elevation, or type an exact value. Positive values raise the area and negative values make a depression.
- Repeat as needed.
Larger models take longer to process, so give SketchUp a moment if nothing seems to happen.
Add Detail and Flip Edge
If Smoove looks blocky, Add Detail adds vertices where you need them. Click an edge or face, move the cursor up or down to set the new vertex, hold Shift to move horizontally if needed, and click again to set it. Reactivate Smoove afterward to refine the shape.
Contours often leave unwanted flat triangles. With hidden geometry visible, activate Flip Edge and click edges until the surface reads naturally.
Check that the terrain is workable
Before heavy editing, draw a vertical line through the TIN. According to the Help Center, if the line touches only one point, the terrain is functional. Terrain that folds back on itself, with overhangs or caves, cannot be manipulated with these tools.
Stamp a building pad
A pad is a flat area cut into the terrain, with the slopes blended into the surrounding ground. Stamp builds it from the footprint of your building.
- Model the building (or a simple box for its footprint) as a closed group or component, and move it so it sits just above the spot on the TIN.
- Close any group or component you have open for editing. The Help Center states Stamp will not work otherwise.
- Activate Stamp and click the building.
- Type an offset in the Measurements box. The offset controls how the pad blends into the terrain, and the right value depends on how flat or steep the ground is. Try a value, look, and undo if the slopes look wrong.
- Click the terrain. The pad appears and the cursor becomes an arrow.
- Move the cursor up or down to set the pad height, then click to finish.
The Help Center also suggests using Flip Edge before placing the object to reduce unwanted flat edges.
Drape for paths and driveways
Drape projects edges onto the surface. Place the edges above the TIN, select them, activate Drape and click the TIN. Drawing a rectangular face above the terrain first, and then drawing the edges in X-Ray mode, keeps the TIN visible while you work. Erase the extra edges and faces afterward.
Where it goes wrong
- Stamp does nothing. A group or component is still open for editing. Close it by clicking an empty area, then try again.
- The pad has strange slopes. The offset does not suit the ground. Undo and try a different offset, and run Flip Edge on the nearby triangles first.
- From Contours produces a flat or spiky result. The contours were not all raised to their elevations, or a stray line was in the selection. Check each line’s height from a side view, and select only the contour lines.
- Smoove or Stamp becomes sluggish. The mesh is too dense. Redraw with simplified contours or a wider grid spacing.
Practice drill
Spend five minutes on this. Create a TIN with From Scratch at a size you choose, then select a patch in the middle and use Smoove with a typed value to raise a hill. Draw a small box, make it a group, and place it just above the hill’s side. Stamp it with one offset value, undo, and stamp it with a second value. Compare the two slopes, and note which offset suits that ground. If shortcuts help you move faster, see SketchUp keyboard shortcuts worth learning.
FAQ
Where are the Sandbox tools in SketchUp?
Turn on the Sandbox toolbar under View > Toolbars. From Contours and From Scratch are also available under Draw > Sandbox.
Why can’t I use Stamp on my terrain?
The most common cause is an open group or component. Close it before activating Stamp. The terrain must also be functional, meaning a vertical line through it touches only one point.
Can I edit a TIN after creating it?
Yes. It is a group, so open it to edit, and use Smoove, Add Detail and Flip Edge to refine it.
What is the difference between Stamp and Drape?
Stamp flattens a pad into the terrain under an object and blends it into the surroundings. Drape projects edges onto the terrain surface, which suits roads and paths.